Programmatic Navigation in React : useNavigate Hook
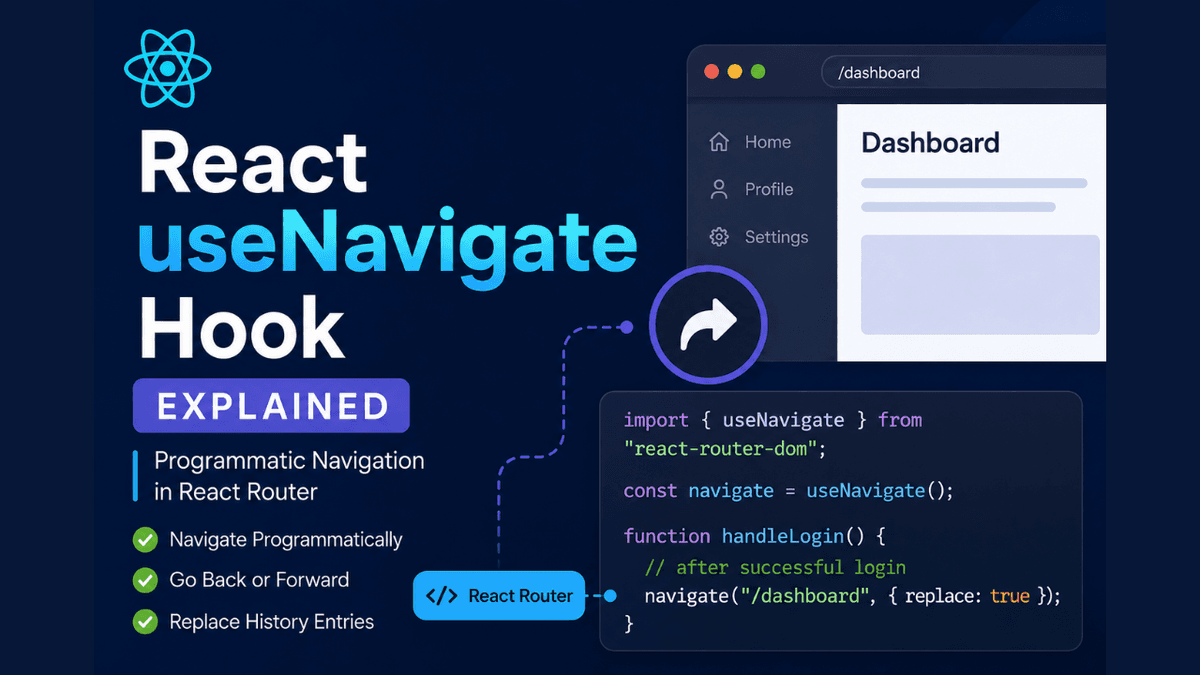
Learn React Router useNavigate Hook with practical examples. Understand programmatic navigation, redirects, browser history, replace, state passing, and routing best practices.
React useNavigate Hook Explained: Programmatic Navigation in React Router
Navigation is a core part of every modern web application.
Users move between:
- Home Page
- Login Page
- Dashboard
- Product Pages
- Profile Pages
- Settings Pages
In many cases, navigation happens when users click links.
However, sometimes developers need to navigate users programmatically after performing an action such as:
- Login
- Logout
- Form Submission
- Payment Success
- Registration
- API Response
This is where React Router's useNavigate Hook becomes useful.
In this guide, you'll learn what useNavigate is, how it works, and how developers use it in real-world React applications.
Prerequisites
Before learning useNavigate , make sure you understand:
These concepts will help you understand navigation more effectively.
What is useNavigate?
useNavigate is a React Router Hook that allows developers to navigate users programmatically.
Instead of clicking a link:
  <Link to="/dashboard">
  Dashboard
</Link>
You can navigate using JavaScript:
navigate("/dashboard");
This is useful when navigation depends on application logic.
Why Do We Need useNavigate?
Consider a login form.
After successful login:
  User Login

↓

Authentication Success

↓

Redirect to Dashboard
Users should automatically move to the dashboard.
Without useNavigate , this process becomes difficult.
useNavigate makes it simple.
Importing useNavigate
Import the Hook:
  import {
  useNavigate
} from "react-router-dom";
Usage:
  const navigate =
  useNavigate();
Now you can navigate anywhere in the application.
Basic Navigation Example
  import {
  useNavigate
} from "react-router-dom";

function Home() {

  const navigate =
    useNavigate();

  return (

    <button
      onClick={() =>
        navigate("/about")
      }
    >
      About Page
    </button>

  );
}
When the button is clicked:
/about
The user is redirected to the About page.
Navigation After Login
One of the most common use cases.
Example:
  function Login() {

  const navigate =
    useNavigate();

  function handleLogin() {

    const isAuthenticated =
      true;

    if (
      isAuthenticated
    ) {

      navigate(
        "/dashboard"
      );

    }

  }

  return (

    <button
      onClick={handleLogin}
    >
      Login
    </button>

  );
}
After successful authentication, users are redirected automatically.
Navigation After Form Submission
Example:
  function ContactForm() {

  const navigate =
    useNavigate();

  function handleSubmit() {

    console.log(
      "Form Submitted"
    );

    navigate(
      "/thank-you"
    );

  }

  return (

    <button
      onClick={handleSubmit}
    >
      Submit
    </button>

  );
}
This pattern is commonly used in production applications.
Navigating Back
You can navigate backward in browser history.
Example:
navigate(-1);
Flow:
  Current Page

↓

Previous Page
Button:
  <button
  onClick={() =>
    navigate(-1)
  }
>
  Go Back
</button>
Navigating Forward
Move forward in browser history.
Example:
navigate(1);
Flow:
  Previous Page

↓

Next Page
Useful in specific navigation scenarios.
Replacing History Entries
By default:
navigate("/dashboard");
adds a new entry to browser history.
Sometimes you want to replace the current page.
Example:
  navigate(
  "/dashboard",
  {
    replace: true
  }
);
This is commonly used after login.
Why Use replace?
Without replace:
  Login

↓

Dashboard

↓

Back Button

↓

Login Page
With replace:
  Login

↓

Dashboard

↓

Back Button

↓

Previous Page
Users cannot accidentally return to login pages.
Passing State with Navigation
You can pass temporary data.
Example:
  navigate(
  "/profile",
  {
    state: {
      name: "Sachin"
    }
  }
);
Receiving page:
  import {
  useLocation
} from "react-router-dom";

function Profile() {

  const location =
    useLocation();

  console.log(
    location.state
  );

}
Output:
  {
  "name": "Sachin"
}
Complete Example
  import {
  useNavigate
} from "react-router-dom";

function Login() {

  const navigate =
    useNavigate();

  function handleLogin() {

    const success =
      true;

    if (success) {

      navigate(
        "/dashboard",
        {
          replace: true
        }
      );

    }

  }

  return (

    <button
      onClick={handleLogin}
    >
      Login
    </button>

  );
}
This is a common pattern used in authentication systems.
Behind the Scenes
When:
navigate("/dashboard");
is executed:
  Trigger Navigation

↓

React Router Updates URL

↓

Route Matches

↓

Component Renders

↓

UI Updates
No page refresh occurs.
Real Project Usage
Authentication Systems
Redirect after:
- login
- logout
- registration
Example:
navigate("/dashboard");
Checkout Process
Redirect after:
- payment success
- order placement
Example:
navigate("/order-success");
Protected Routes
Redirect unauthorized users.
Example:
navigate("/login");
Multi-Step Forms
Move between steps.
Example:
navigate("/step-2");
Common Real-World Use Cases
Developers commonly use useNavigate for:
- authentication redirects
- logout functionality
- checkout flows
- multi-step forms
- onboarding systems
- admin dashboards
- protected routes
useNavigate vs Link
Link
  <Link to="/about">
  About
</Link>
Used when users click links.
useNavigate
navigate("/about");
Used when navigation depends on JavaScript logic.
When NOT to Use useNavigate
Avoid:
  <button
  onClick={() =>
    navigate("/about")
  }
>
  About
</button>
for simple navigation.
Instead use:
  <Link to="/about">
  About
</Link>
Links are better for navigation menus and accessibility.
Common Beginner Mistakes
Forgetting useNavigate
Incorrect:
navigate("/about");
without:
  const navigate =
  useNavigate();
Using useNavigate Outside Router
useNavigate must be used inside:
<BrowserRouter>
Otherwise React Router throws an error.
Overusing useNavigate
Use Links whenever possible.
Reserve useNavigate for programmatic navigation.
Forgetting replace After Login
This can create confusing browser history behavior.
useNavigate Interview Questions
- What is useNavigate in React Router?
- Why is useNavigate used?
- How do you redirect users after login?
- What does navigate(-1) do?
- What does replace: true do?
- How is useNavigate different from Link?
- Can you pass state using navigate?
Build Something
Practice useNavigate by creating:
- Login System
- Registration Flow
- Checkout Process
- Multi-Step Form
- Protected Dashboard
These projects will help you understand real-world navigation patterns.
Production Tip
Professional React developers usually:
- use Links for standard navigation
- use useNavigate for redirects
- replace login pages after authentication
- handle unauthorized access gracefully
- centralize navigation logic when needed
A well-designed navigation flow improves user experience and application usability.
Why useNavigate Matters
Modern applications often need to redirect users based on actions and application state.
The useNavigate Hook provides a clean and reliable way to handle these navigation scenarios.
It is one of the most frequently used React Router Hooks in production applications.
Conclusion
The useNavigate Hook allows React applications to navigate users programmatically without refreshing the page.
Whether you're handling login redirects, checkout flows, protected routes, or multi-step forms, useNavigate provides a simple and powerful navigation solution.
Understanding useNavigate is an essential step toward mastering React Router and building professional React applications.