How to Install Node.js on Windows, macOS, and Linux
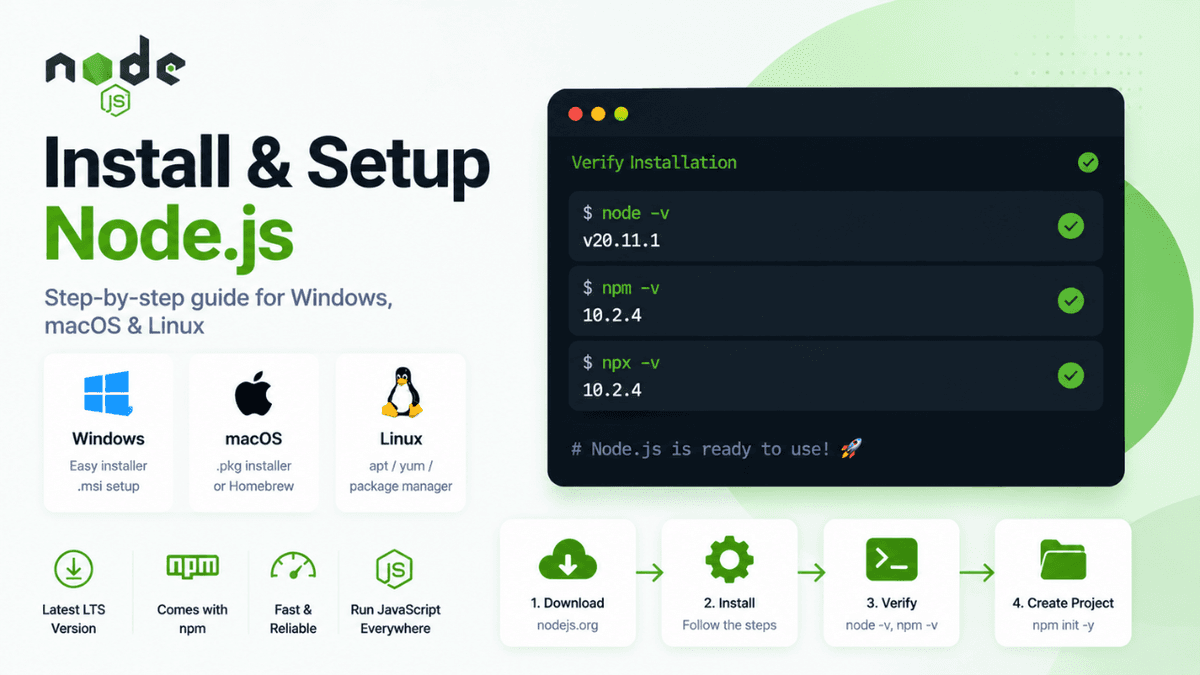
Learn how to install Node.js on Windows, macOS, and Linux. Verify your installation, set up npm, create your first project, and understand package.json in this complete beginner guide.
How to Install Node.js on Windows, macOS, and Linux (Complete Setup Guide)
Before building backend applications with Node.js, you first need to install it on your computer.
Fortunately, installing Node.js is straightforward and takes only a few minutes.
Once installed, you'll also get npm (Node Package Manager) , which lets you install thousands of JavaScript libraries and frameworks like Express.js.
In this guide, you'll learn how to install Node.js on Windows, macOS, and Linux, verify the installation, and set up your development environment correctly.
Prerequisites
Before installing Node.js, it's recommended that you understand:
- What Is Node.js?
- Basic Command Line knowledge
Why Install Node.js?
Installing Node.js allows you to:
- run JavaScript outside the browser
- build backend applications
- create REST APIs
- install npm packages
- use frameworks like Express.js
- run development servers
- build full-stack JavaScript applications
Node.js is an essential tool for modern web developers.
Step 1: Download Node.js
Visit the official Node.js website:
You'll typically see two versions available:
LTS (Long-Term Support)
Recommended for:
- beginners
- production projects
- most developers
Current Version
Recommended for:
- testing new features
- experimenting with the latest releases
For most users, install the LTS version .
Step 2: Install Node.js on Windows
After downloading the installer:
- Double-click the downloaded
.msifile. - Click Next .
- Accept the license agreement.
- Choose the installation location (default is recommended).
- Keep all default options selected.
- Click Install .
- Wait for the installation to finish.
- Click Finish .
Node.js and npm are now installed.
Step 3: Install Node.js on macOS
Download the .pkg installer from the official website.
Then:
- Open the installer.
- Click Continue .
- Accept the license agreement.
- Follow the installation steps.
- Complete the installation.
Alternatively, if you use Homebrew:
brew install node
This installs both Node.js and npm.
Step 4: Install Node.js on Linux
For Ubuntu or Debian-based systems:
sudo apt update
sudo apt install nodejs npm
Verify the installation after it completes.
Note: Some Linux repositories may provide older versions of Node.js. For the latest LTS release, consider using the official NodeSource repository or a version manager like NVM.
Step 5: Verify the Installation
Open your terminal or command prompt and run:
node -v
Example output:
v22.x.x
Now verify npm:
npm -v
Example output:
10.x.x
If both commands display version numbers, the installation was successful.
Understanding Node.js and npm
Installing Node.js also installs npm automatically.
Their responsibilities are different:
| Tool | Purpose |
|---|---|
| Node.js | Executes JavaScript outside the browser |
| npm | Installs and manages project packages |
You'll use both throughout your Node.js journey.
Step 6: Create Your First Project
Create a new folder:
my-node-app
Navigate into it:
cd my-node-app
Initialize a new Node.js project:
npm init
npm will ask several questions.
For a quick setup, use:
npm init -y
This automatically generates a package.json file.
Understanding package.json
After initialization, you'll see:
package.json
This file stores important project information, including:
- project name
- version
- scripts
- dependencies
- author
- license
Every Node.js project includes a package.json file.
Step 7: Create Your First Node.js File
Create a file named:
app.js
Add the following code:
console.log("Welcome to Node.js!");
Run the file:
node app.js
Output:
Welcome to Node.js!
Congratulations! You've successfully run your first Node.js program.
Recommended Development Tools
To improve your development experience, install:
- Visual Studio Code
- Git
- Postman (for API testing)
- MongoDB Compass (later in the course)
These tools are commonly used in professional Node.js development.
Recommended VS Code Extensions
Useful extensions include:
- ESLint
- Prettier
- Error Lens
- npm IntelliSense
- Path IntelliSense
- Material Icon Theme
These extensions improve productivity and code quality.
Common Installation Issues
"node" Is Not Recognized
Example:
'node' is not recognized as an internal or external command.
Possible solutions:
- restart your terminal
- restart your computer
- reinstall Node.js
- verify that Node.js was added to your system PATH
npm Command Not Found
Verify Node.js installation first.
If necessary, reinstall Node.js using the official installer.
Installing the Wrong Version
Beginners should use the LTS version , not the Current release.
Node.js Installation Interview Questions
- How do you install Node.js?
- What is the difference between the LTS and Current versions?
- How do you verify Node.js is installed?
- What command checks the npm version?
- What is
package.json? - What does
npm init -ydo? - Does installing Node.js also install npm?
Build Something
Practice your setup by creating:
- Hello World App
- Calculator CLI
- Random Quote Generator
- File Reader
- Basic HTTP Server
These small projects help you become comfortable with the Node.js environment.
Production Tip
Professional Node.js developers usually:
- install the latest LTS version
- initialize every project with
package.json - use version control with Git
- keep dependencies updated
- use consistent code formatting tools
A proper setup creates a strong foundation for backend development.
Why Proper Setup Matters
A correctly configured Node.js environment saves time and prevents common development issues.
Once your setup is complete, you'll be ready to build APIs, work with databases, and develop full-stack applications.
Conclusion
Installing and setting up Node.js is the first step toward becoming a backend or full-stack JavaScript developer.
By installing the LTS version, verifying your setup, creating a project, and understanding package.json , you'll have everything you need to start building modern Node.js applications.